- Home ›
- Watercolour hares ›
- Hare art
Hare art - the hare and her moon
Hare art: this hare and moon painting is entitled, "Don't tell me you love me. This time it won't cut it."
She's not a happy lady! But I adored painting her. One of my lovely friends wrote on Facebook when she saw her...
My rabbit says, "Cheer up Babe. Shes going to do a still life next. Carrots and lettuce, I think".
She always cracks me up!
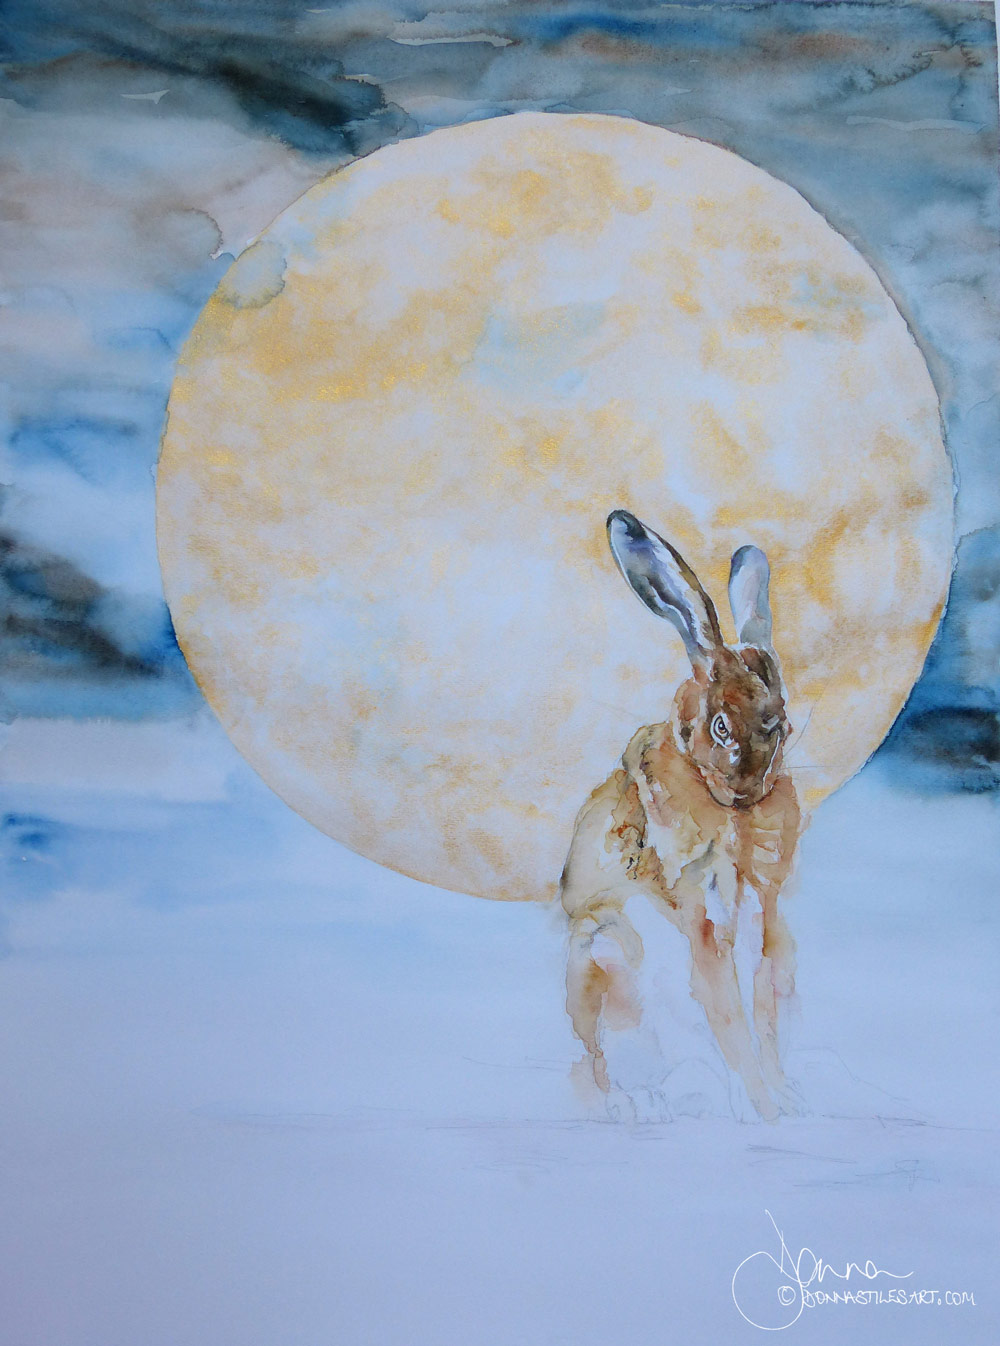
I had to get a huge piece of hardboard and take nearly everything off of my table to paint her, and still I couldn't sit close to do so. So painting standing it had to be!
And to get that perfect circle for her moon I emptied my whole cupboard of circular baking tins and trays to try to find one big enough to draw around, but to no avail. In the end upturned a handmade ceramic fruit bowl that I had bought in a hill town in Spain years and years ago. It did the job wonderfully!
My watercolour palette for this hare
The product links in this page are "affiliate links". If you click on them and make a purchase, I may earn a small commission at no cost to you. I only recommend products that I use myself and have no doubt that you will love too. More information can be found in my disclosure policy.
The colours I used were by Royal Talens (I love the quality, intensity and transparency of their pigments):
- from the Rembrandt professional range- Transparent Oxide Yellow and Transparent Oxide Red,
- and from the Van Gogh student and artist range (these watercolours are up there with some of the best professional ranges) - Burnt Umber, Burnt Sienna, Prussian Blue, Permanent Blue Violet and Payne's Grey,
and
- just a touch of Winsor & Newton's - Alizarin Crimson.
First watercolour washes
The first wash goes down. This is always my favourite moment in a painting - that and the point when the eyes in a portrait say hello. It's because it's here that the pigments - if you let them and the water do their magic and touch the paper with your brush the very least amount of times you can - produce incredibly beautiful subtle shifts in colour that you could never reproduce exactly again. All with - if you choose the right paints and paper - an incredible transparency and vibrancy that adds life to the image even at this stage of the painting.
Layers after this, whilst adding the needed tonal contrasts and depths to describe a three dimensional object on a two dimensional surface, each cover and subtract from the natural beauty of this layer.
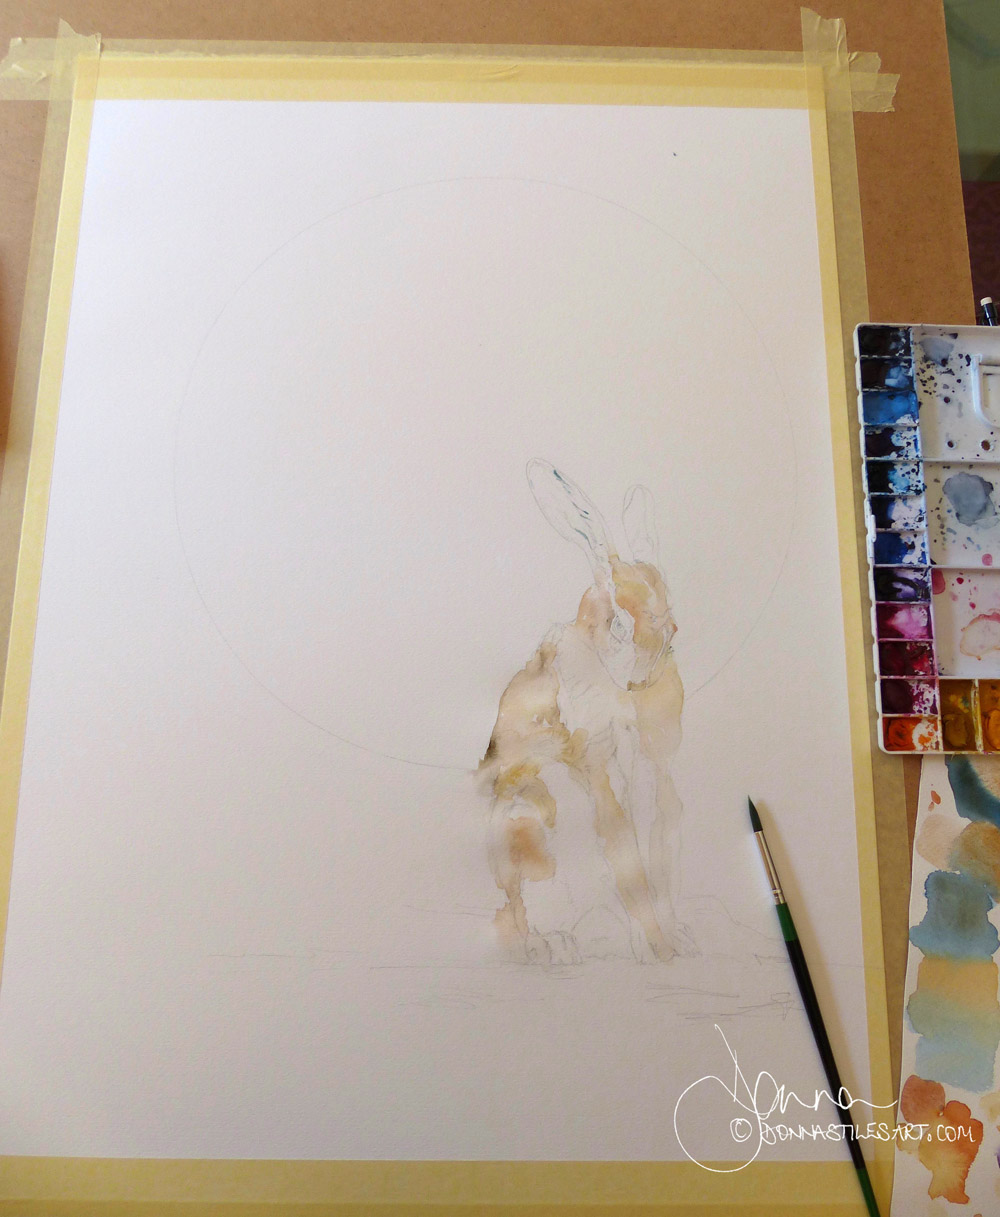
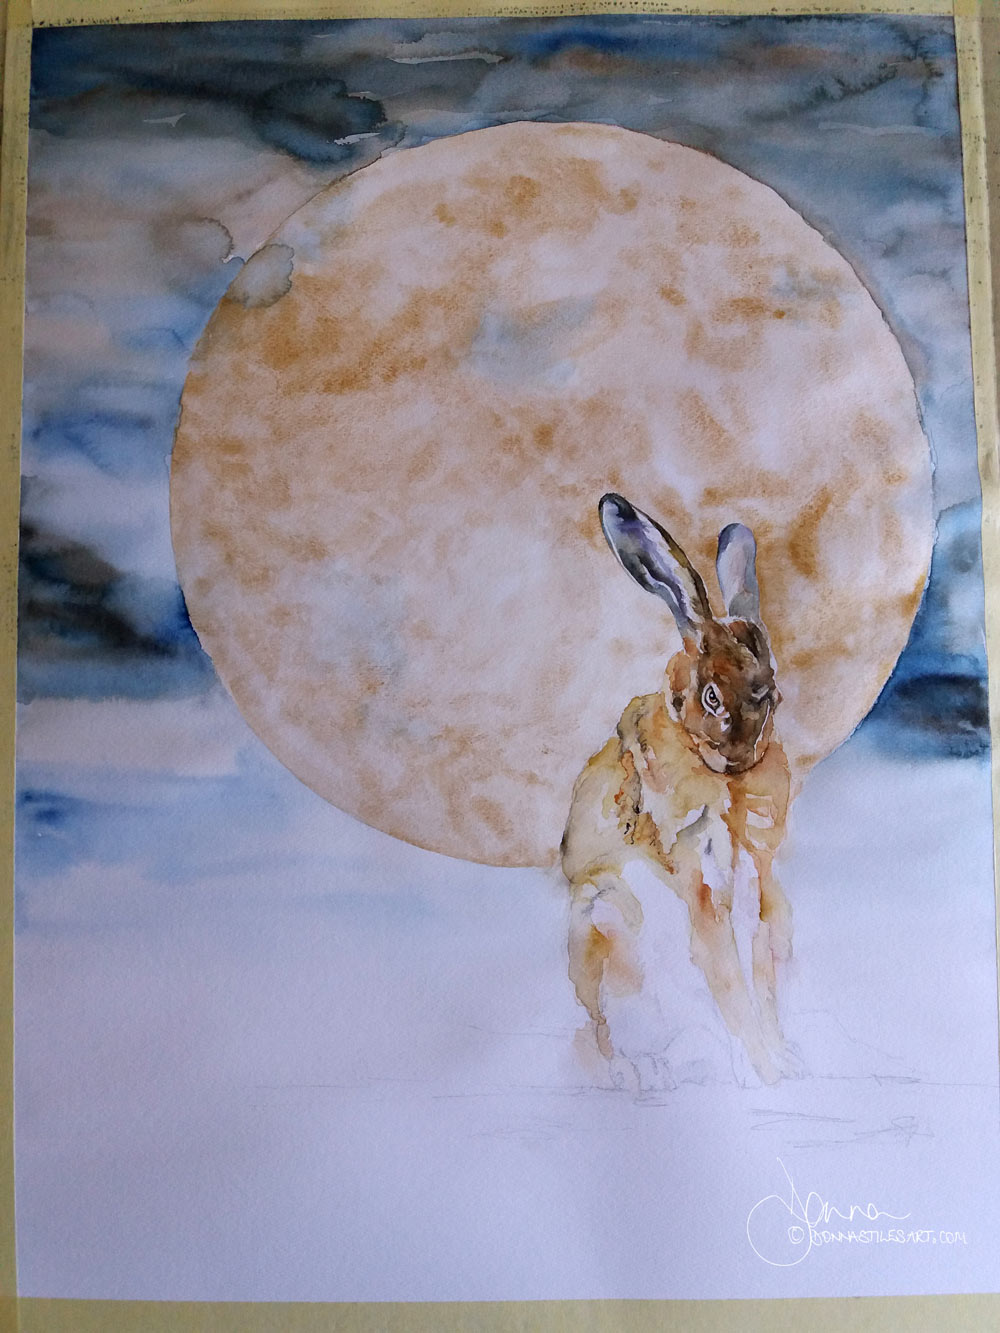
My paper was drying so quickly in the heat of our summer - 32 degrees indoors! In the time it took me to go from one side of her body to the other and back, the sheen on the paper had already gone, so when I went back in with more pigment with my brush loaded with water, it was the recipe for some beautiful blooms to appear. Adding to the texture for her fur :)
I don't care if some watercolour purists consider blooms - or blossoms or cauliflowers as they are also known - as unacceptable. I LOVE them. Just wait to you see the background below: it is jam packed with them!
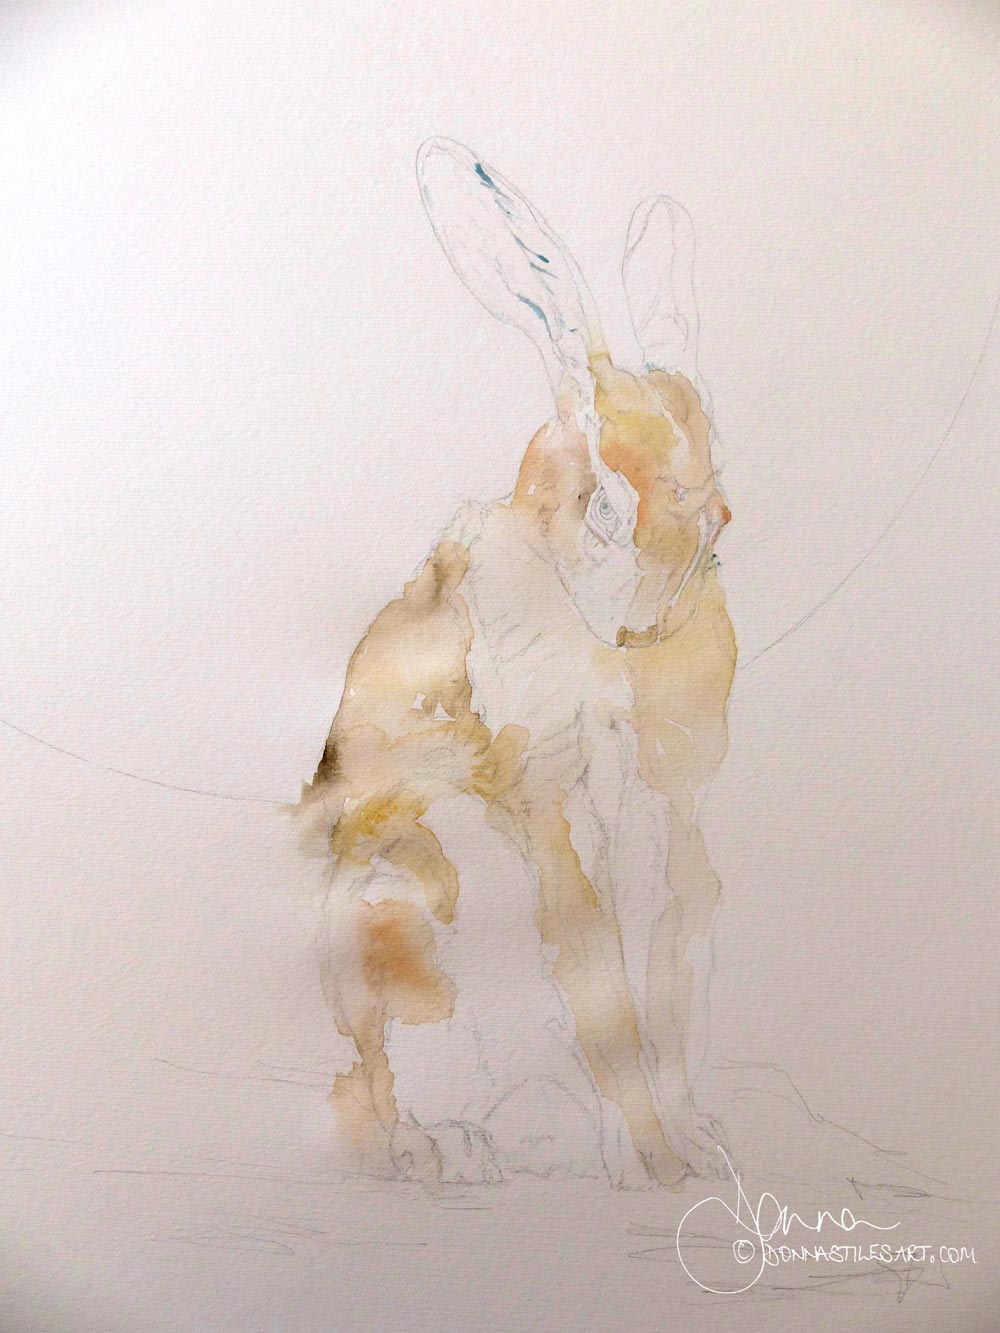
The blue lines that you can see are masking fluid. More and more I'm choosing to use it only for the white of the eyes. The white areas it leaves always need attention afterwards to blend them into the painting. But for when you want to be expressive and play with lots of colour and create a background that includes your subject in the first washes, then it is indispensable to give you the freedom you need.
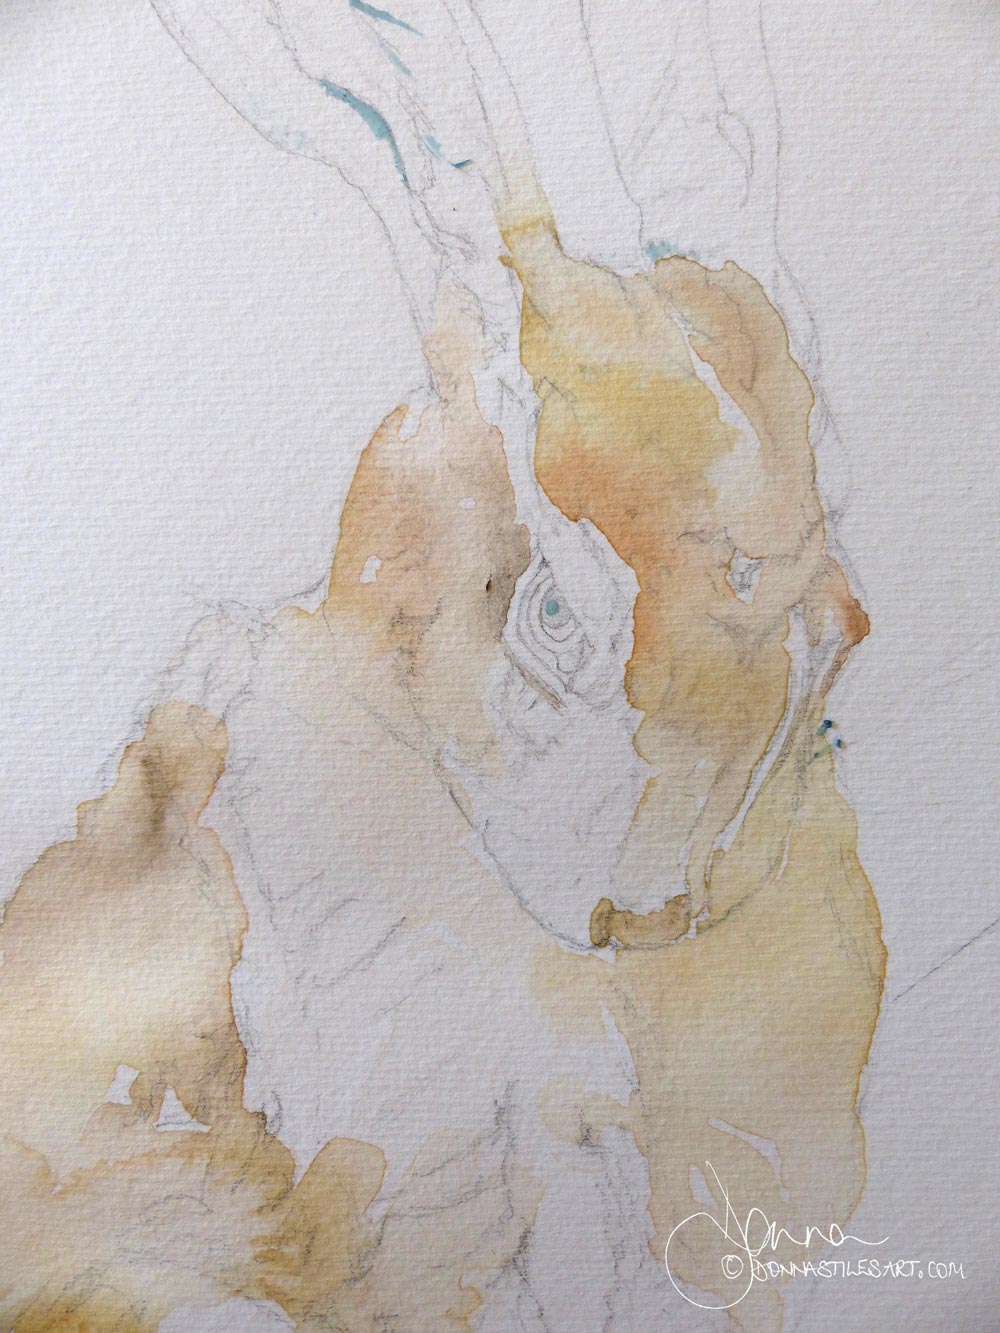
Adding further layers of colour to her head and upper body
A little violet into her right ear, the rest is a delicate play with varying degrees of Prussian Blue and Burnt Umber - a wonderful combination any day and one of my favourites.
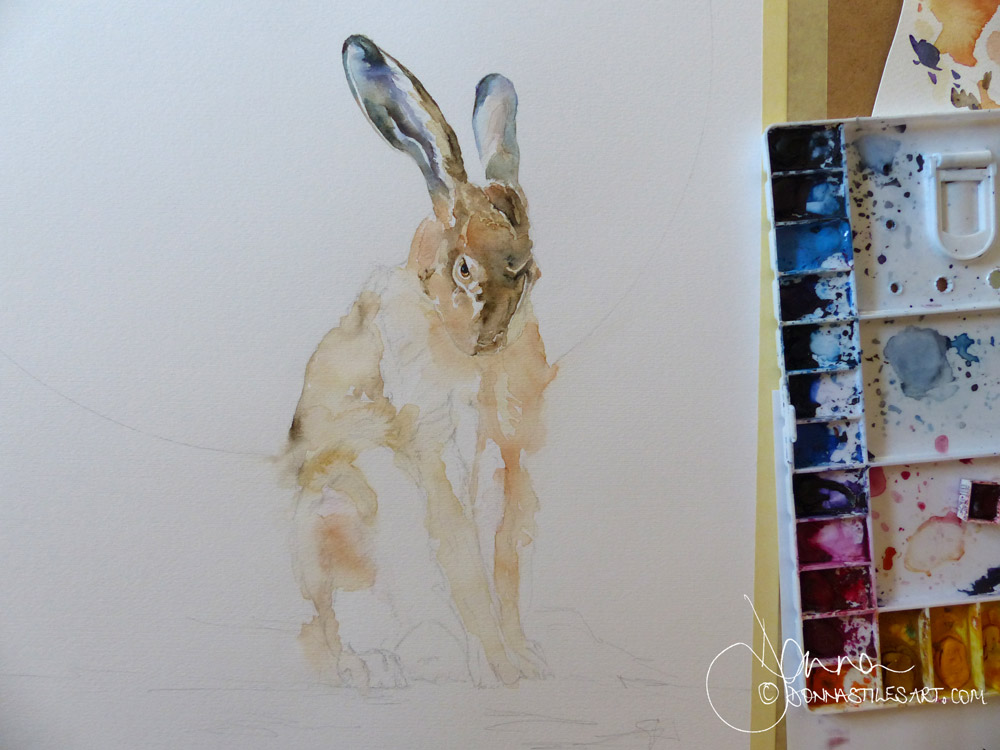
Then the second washes on her upper body with more Transparent Oxide Red, Transparent Oxide Yellow, Burnt Sienna and Burnt Umber.
Some nearly not there touches of Alizarin Crimson and Payne's Grey to her lower body.
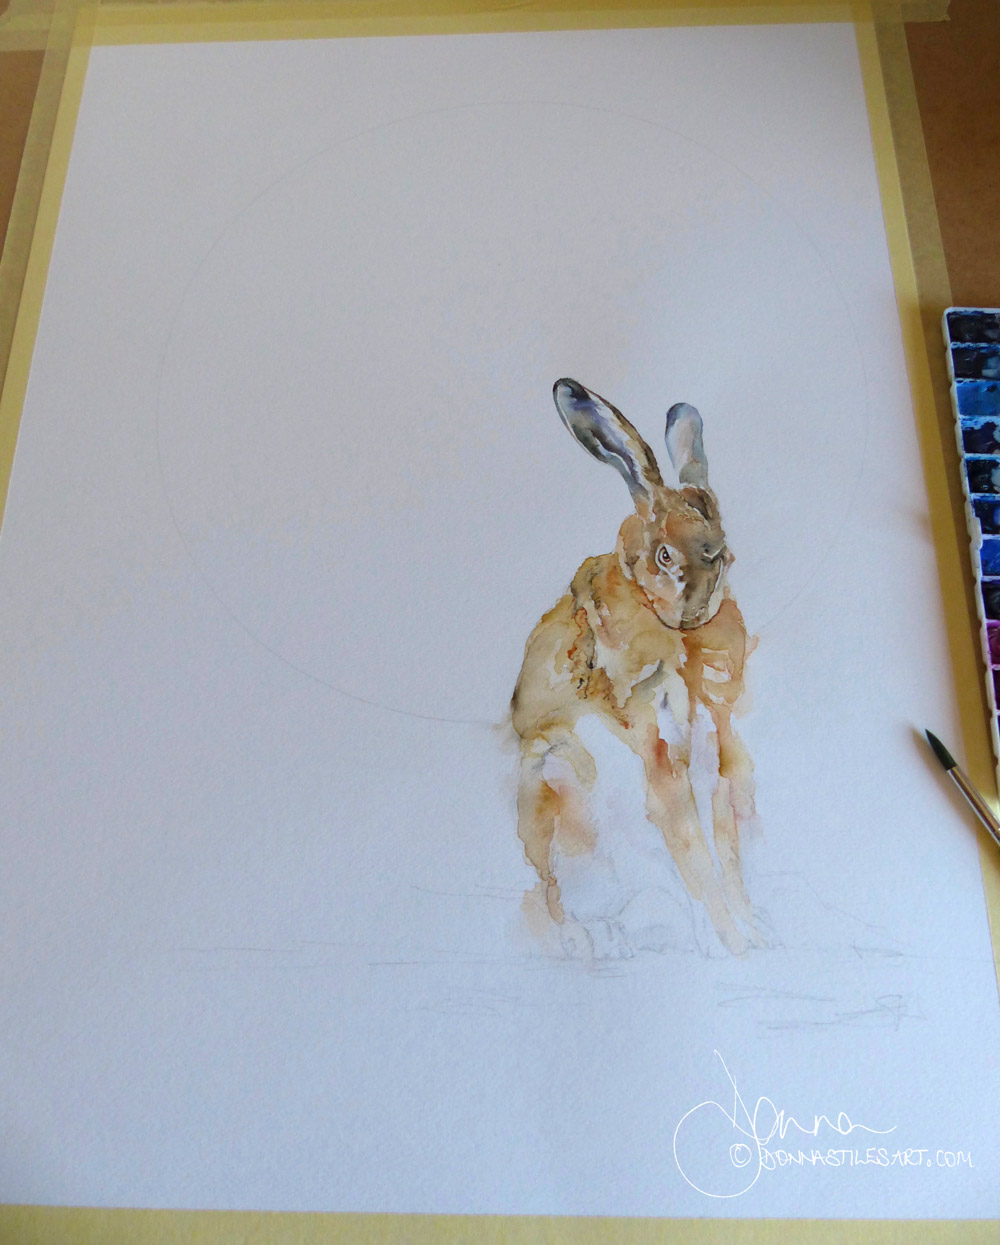
And the first details of her eye.
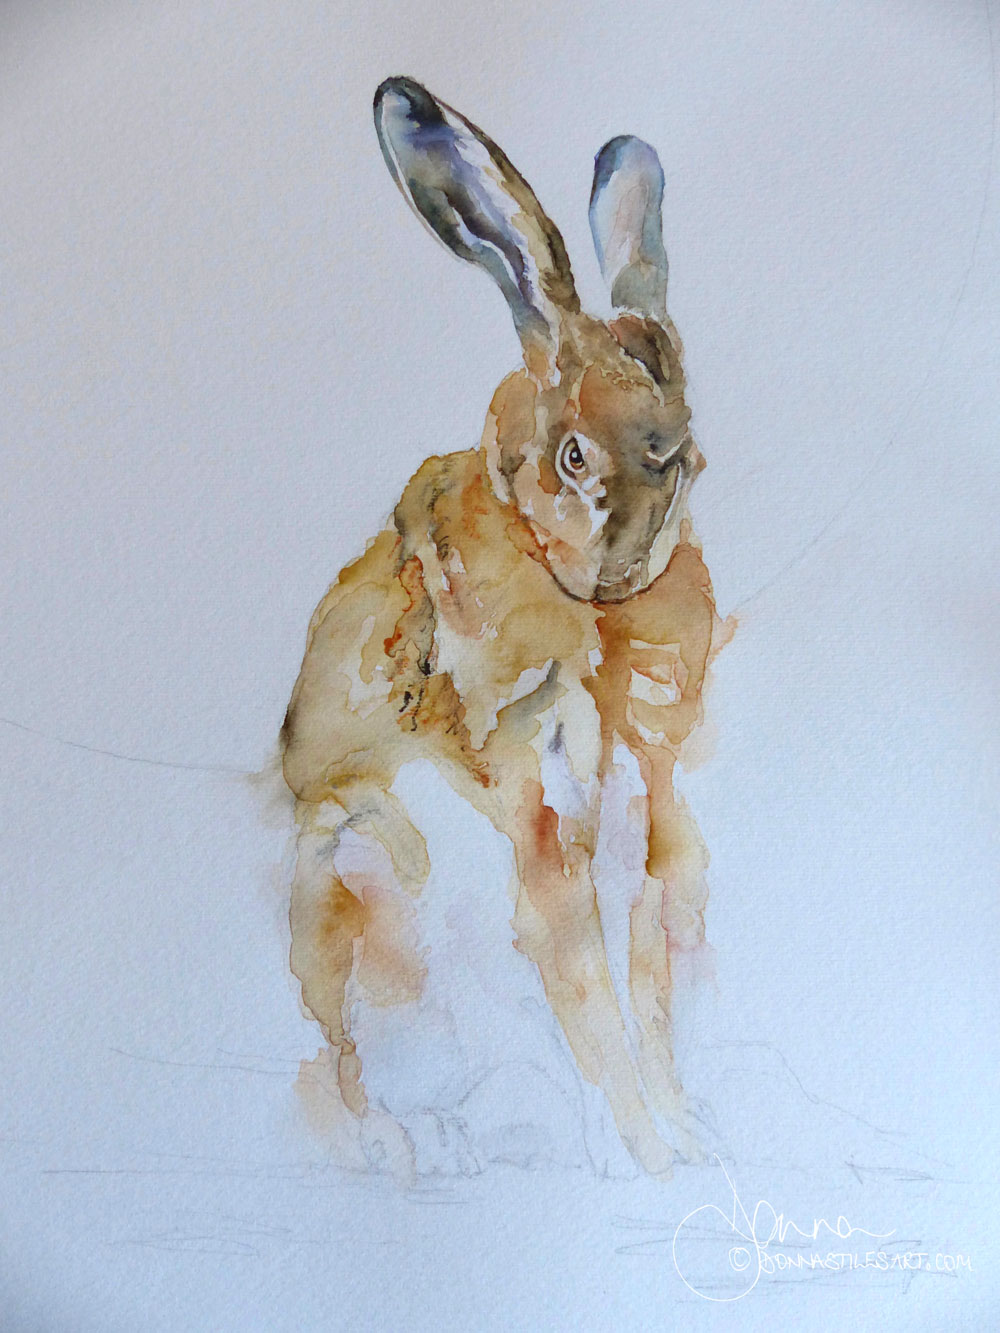
She got her moon!
At this point, she needed her moon. And background. For me to determine how much darker in value she needed to be. Everything about tone is relative. With the rest of the painting still only a large - very large - white sheet, it was best to stop painting her here.
So the glittering moon was next
This was Van Gogh Deep Gold's time to shine: literally!
I wet the whole moon with clear water. twice. But, even so, in the temperature in my studio, the paper had begun to dry in places. So I went in with a Tintoretto mop brush laden with water and lots of pigment.
You only really get one chance with metallic watercolour paints to paint the finished effect that you want. In one go. Because the pigment particle lift so very easily with a subsequent layer. It's a s though they think there is another playtime happening and don't want to be left out, so they join in and move into the water an pigment mix that you are putting down a second time. This always results in leaving hard edges around the new areas.
Once the whole moon had its variable - I didn't want a flat uniform look - cover of gold, I touched in Prussian Blue and carefully weakened it with water. Bleeding it out in the two areas on the edges of the moon's circumference.
TIP. I have learnt in playing with this gorgeous blue that it is always best when mixing it on the paper with another colour, to add it second. If you paint with it first it is a stubborn pigment and sits down like a two year old not wanting to move! Leaving very evident the paint brush marks you made to put it there.
You will have to use a firm brush to get it to get up again, if it hasn't dried. If it has, forget it! But if you add it second then it will move with the underlying pigment. You still don't have much time as it is determined to stain the paper!
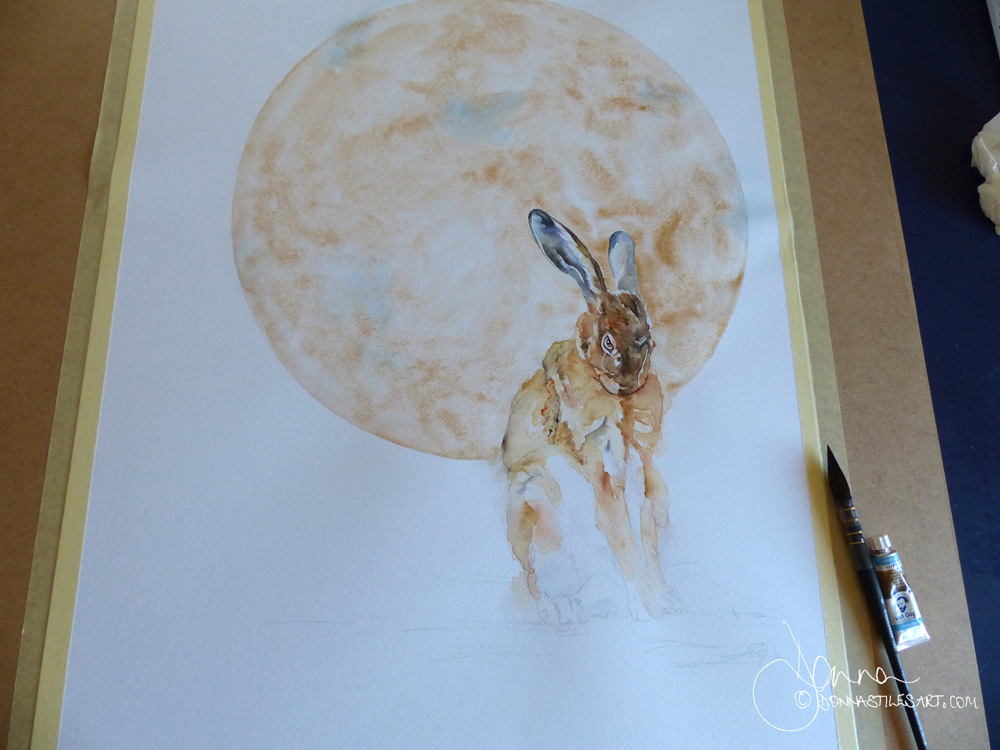
My watercolour paper is Fabriano 5 Cold Pressed watercolour paper. It is a 50% cotton 300 gsm/140lb paper. Which I never pre-stretch. It's pretty good at not buckling too much. With the pre-wetting of the moon and subsequent additions, it only buckled on the far left border a little and at the top. Drying flat. And on the right as you can see.
When the painting was dry, lifting and re-pressing down the masking tape helped remove all but the buckle on the right. Which would cause two puddles to collect when I put in the background.
Putting in the background
For the background I didn't pre wet the paper, but chose instead to go in each time with a very wet brush. Starting at the top of the painting with just two colours: Burnt Umber and Prussian Blue. And working down.
This is the part I get most nervous about: ruining the background. In the sense of over working it, or not stopping when I should, or fiddling: the three great watercolour sins!
But I knew that one layer wasn't going to give me the effect that I wanted. So, all the time telling myself to pause and not jump in too soon, I charged back into parts of the background with still a very wet brush and more pigment. Watching the effects develop before my eyes.
I reached a point where I loved it. It was dark enough in places, beautiful cloud-like blooms were growing, and what looked like a shooting star in deep blue had formed in the top left heading for the moon. A lady needs her own shooting star sometimes in her life :) And, it would help take the viewers eye from left to right and back up again around the painting.
But.
Watercolour has a life of it's own and that star all but dissolved into as it dried.
Night sweetheart
This is where I left her overnight. To ponder in a new day over the long list of things that I wanted to fiddle with but, in the light of a new morning might actually best be left alone.
The watercolour mantra: Don't fiddle. The medium is so unforgiving and a lot of the time it will give you magical surprises that you couldn't in a month of Sundays hope to produce with brush and paint. So leave well alone!! She says, the world's worst culprit!
Final tonal balances
In the morning, this lady did need her darks to go darker and her mid tones adjusted.
I added some extra strength to her upper body and finished the detail around her eye. Softened in places some parts of the edge of the moon. Washed in a very pale Prussian Blue and Alizarin Crimson in the lower part of the painting to help tie it into the middle. I didn't want to loose the white of the paper there: I've come to realise it's part of my own style leaving a tranche of beautiful in its own right white paper. The pale wash colour is more discernible in real life than in the photo.
And. Added another layer to hint at that star.
And there she is, all 50 cm by 70 cm.

More hare art
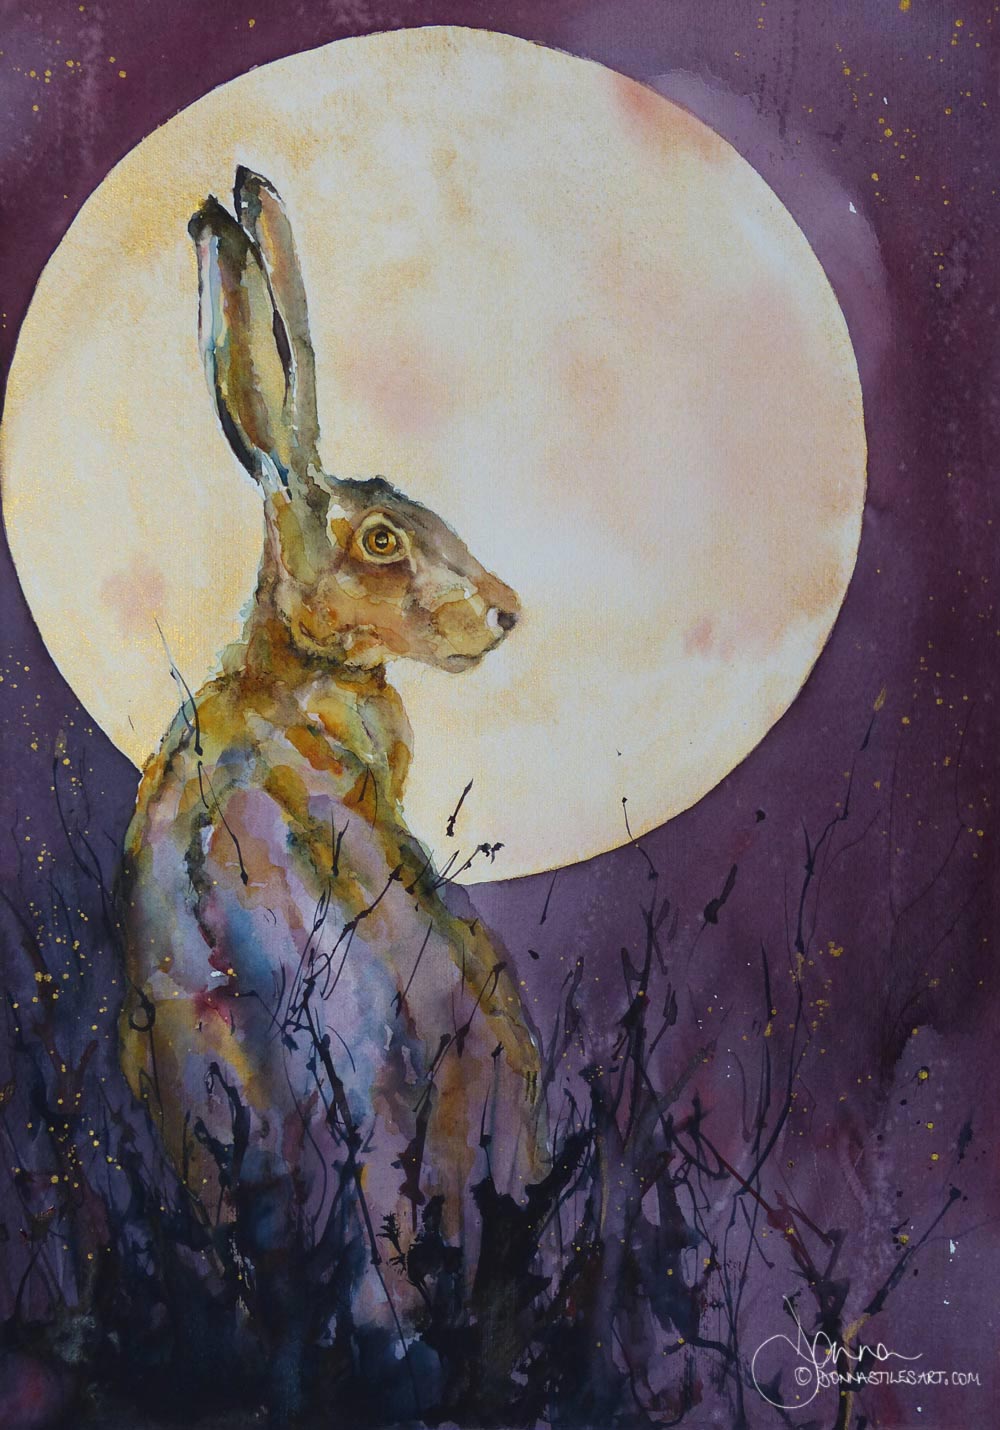
This is Judy's "Nobody's Fool".
Once I got him to sit still on the paper! take a look at how I painted him and find out the colours etc that I used.
Starting out in watercolour and want to paint captivating portraits?
Sign-up for my latest tips, secrets, and terrific tutorials to get you through the disappointing phase faster and painting the portraits you want to.