- Home ›
- Watercolour tips for beginners ›
- How to flatten watercolour paper
How to flatten watercolour paper -
easy step by step to make those bumps and buckles a thing of the past
How to flatten watercolour paper. Easy, step by step instructions for the foolproof way to a perfect result. Every time.
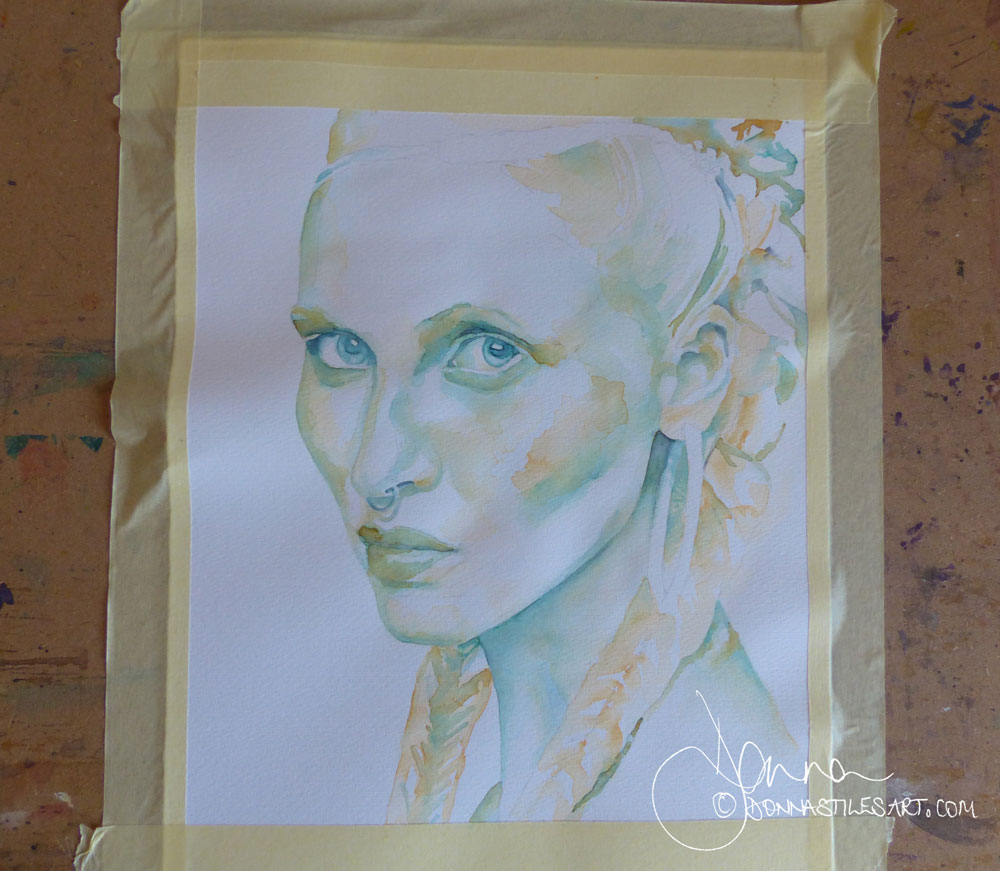
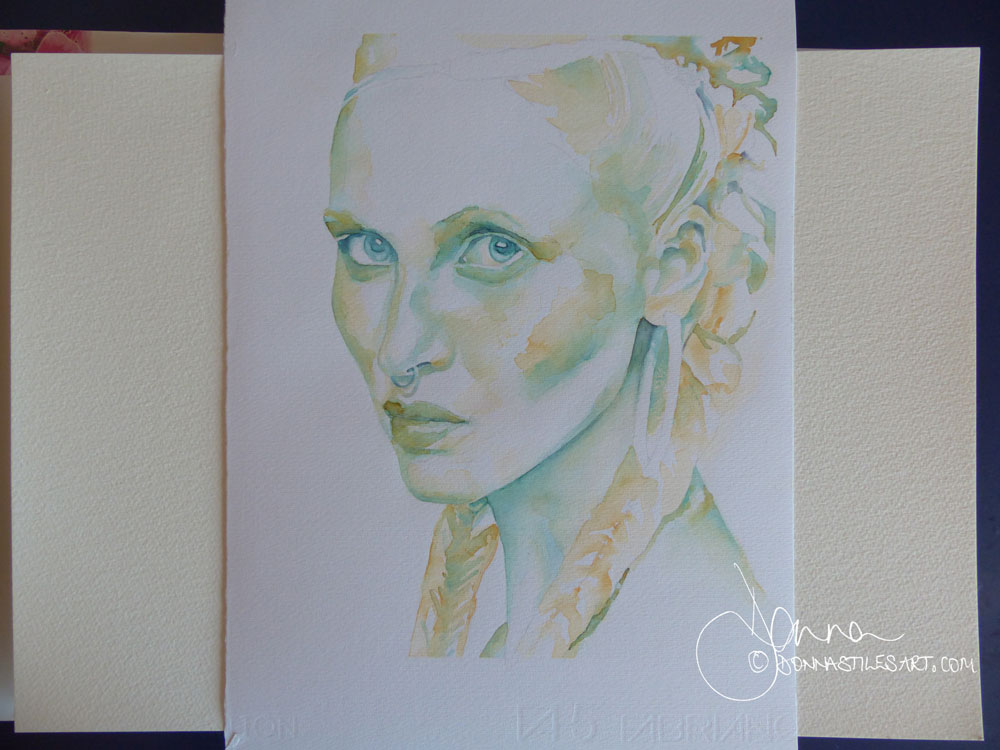
The minor buckles in the paper on the right of this portrait I'm painting aren't giving me much of a problem, but the larger one one the left is. Each time I add water and pigment to her eye, it runs downhill to where I don't want it! Time to untape her from my board and flatten the paper so that I can finish painting her.
You will need
You will need:
- a large flat brush
- clean water
- a tissue or folded kitchen paper towel
- two sheets of absorbent paper that are larger than the painting that you want to flatten. I keep two sheets of student grade - 100% cellulose - watercolour paper just for this job.
- two pieces of card or board that are, similarly, larger than your painting.
- a pile of large, heavy books
BEFORE YOU START. First, check that your brush is really clean. Give it a rinse in the water and wipe onto a piece of kitchen paper just to be sure.
And. Check that the surface that you are working on is clean and dry too.
Step by step - how to flatten watercolour paper the foolproof way
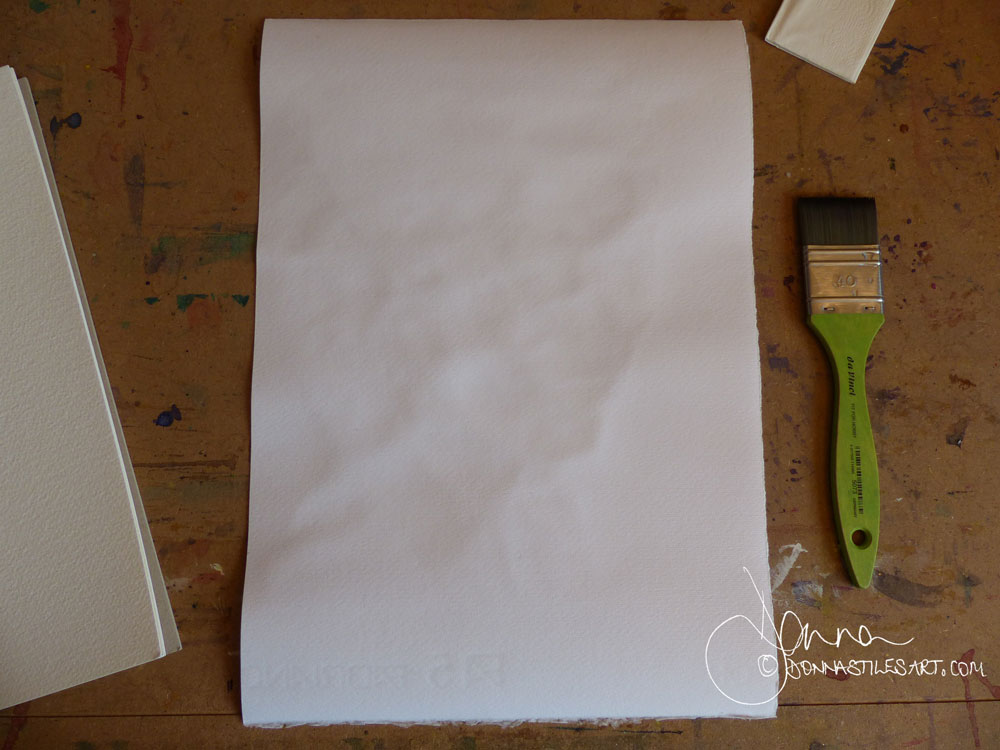
1. Place your painting painted side down onto your work surface.
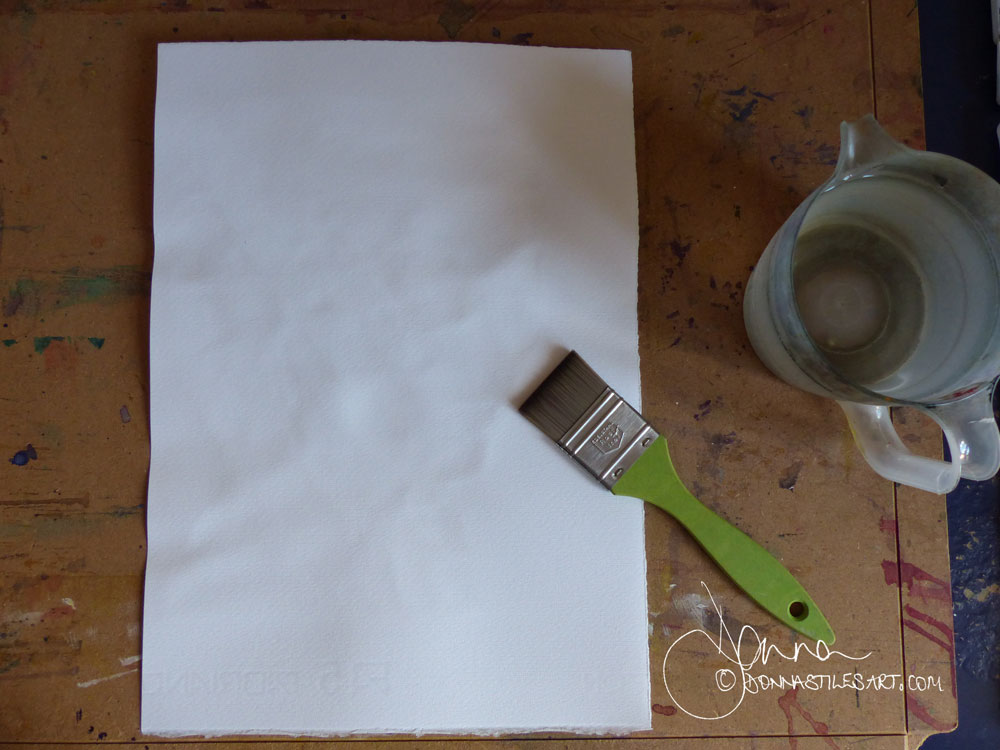
2. With a large flat brush, paint an even application of clean water onto the reverse of the painting. Working from top to bottom. Left to right or right to left, whichever is more natural for you.
TAKE YOUR TIME. Do it with care. There is no rush.
Check that you don't have any puddles. Depending on the light in your room, you may need to move your head on an angle and low to the paper to do this.
REALLY IMPORTANT
When your brush reaches the edges of the paper you will need to stop any water from working its way to the front painted side of the paper. Keep that tissue close to hand to wipe up the water that the brush leaves on your work surface.
Plus. Be aware that as you start painting the water onto the paper for the first time and work your way down the sheet, the paper will naturally start to curl up. The water will drip off onto your work surface. And try to curl around the edge of the paper to make its way to the other side. KEEP that tissue to hand!
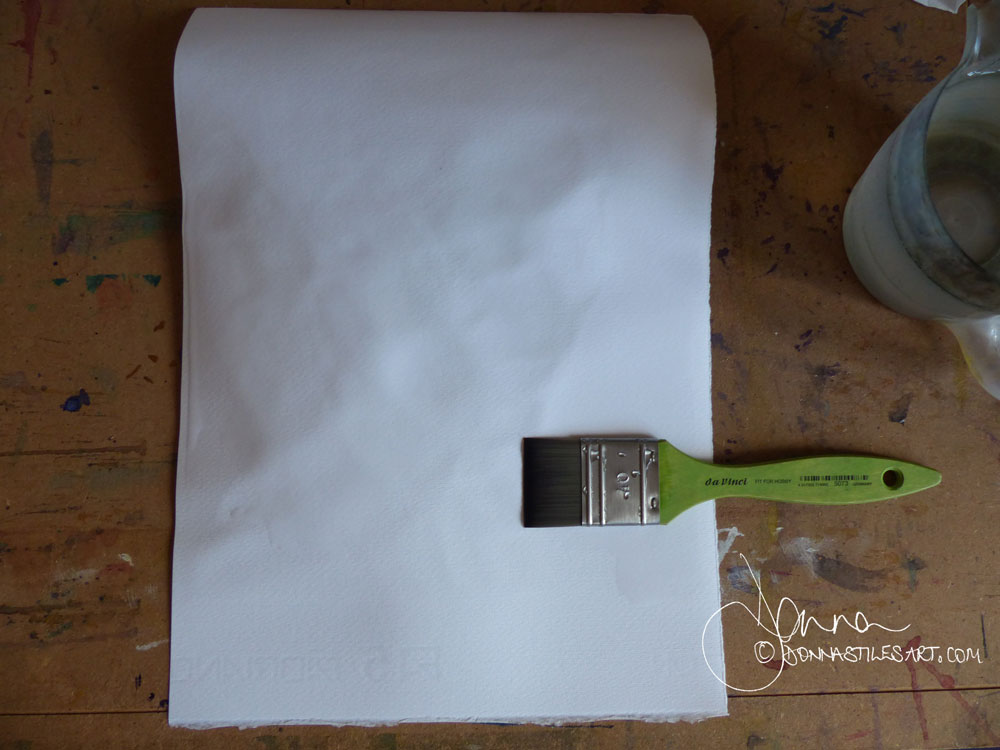
3. Wait until the sheen of the water on the paper has gone. This means that the paper has absorbed the water.
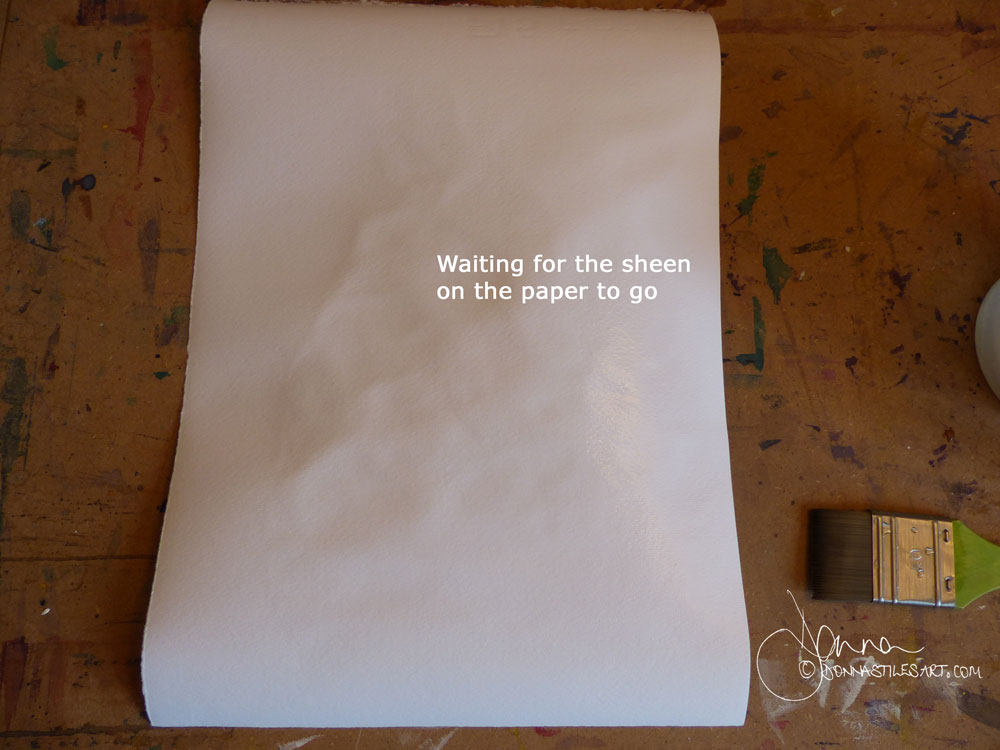
The sheen has gone.
4. Repeat steps 2 and 3.
5. Repeat steps 2 and 3. See note below.
6. Repeat steps 2 and 3. See note below.
NOTE.
Every type of watercolour paper has its own characteristics and will behave differently. Not only when we paint on its surface, but also on how much water you will need to apply to dampen the paper sufficiently in order for the flattening process to work first time.
We are not looking for a soaking soggy sheet! But for a sheet that is slightly damp. Normally, just one application of water will be insufficient.
To give you a gauge, the paper I usually paint on is a 50% cotton 140lb/300gram paper. I need to apply 4 layers of water.
If your paper is of a lighter weight, you will not need to apply that much water.
Once you have done this once with the paper you regularly use, you will know how much water is necessary.
5. Prepare the sandwich! Place the first piece of card or board down onto your work surface. Place a sheet of absorbent paper - I use a sheet of watercolour paper - onto the card/board.
Lifting the painting carefully by its corners, place it face down onto the sheet of paper.
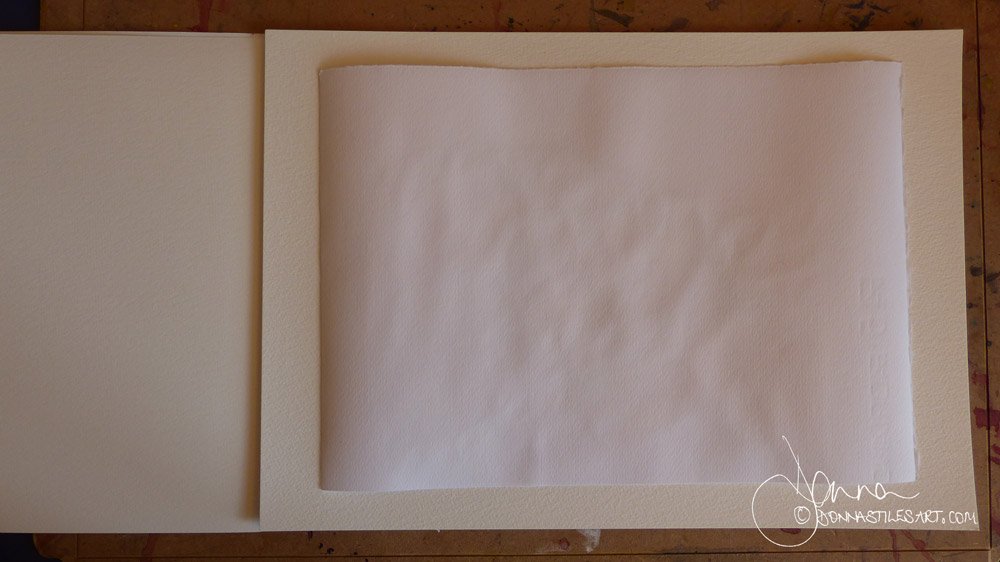
Place the second sheet of absorbent paper on top of the painting.
Place the second sheet of card/board on top.
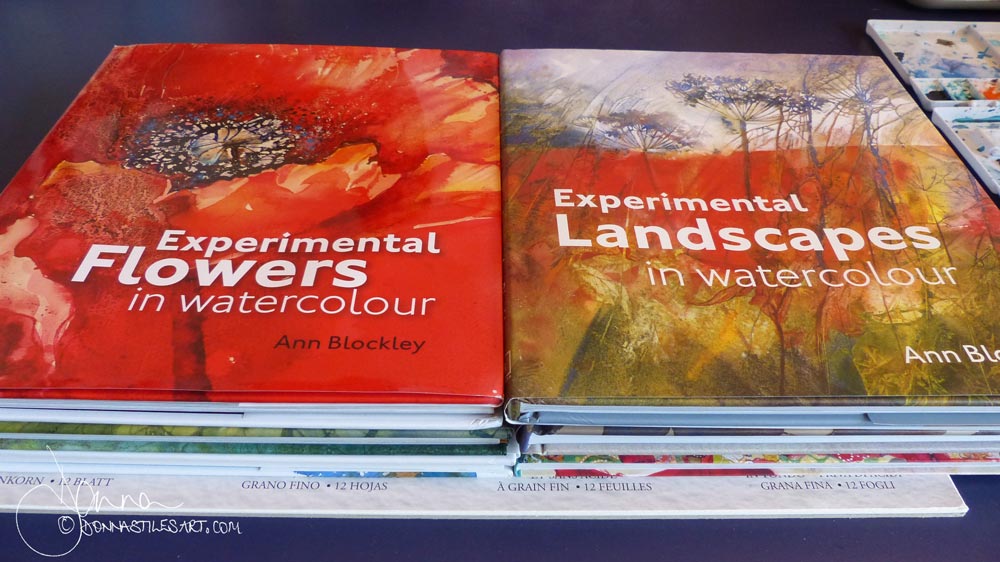
Pile the books on top of the sandwich. (I bet you can't guess what my favorite watercolour books are?!)
6. Leave to dry at least overnight.
And there she is the next day, completely flat. Ready for me to add the darkest darks. You can see the finished portrait here.
You can also use, but...
1. You can use a water spray to apply the water. But I find that doing so the resultant application is uneven. There are always some areas where the paper has more water than others. So I have to use my flat brush to even them out anyway.
And this method doesn't give me the same opportunity to keep an eye on and mop up the the water leaving the edges of the painting. Once I have finished spraying I have to rush to catch it all in time.
2. You can use kitchen paper towels instead of watercolour paper in the sandwich. But you will need to use a number of layers beneath and on top of the painting. And, depending on the quality of the kitchen paper, if it has a design on it, be careful that it doesn't transfer some of its colour onto the painting.
I find that watercolour paper is much better at absorbing the water - after all that is what it is manufactured to do in the first place, just not for this purpose! And the painting dries much faster.
If you use kitchen paper you may have to remove the wet layers and replace them dry in order to completely dry your painting and complete the flattening process.
A couple of notes about bumps and buckles
If you choose like I do to use two sheets of watercolour paper for flattening your watercolour painting, be aware that they will end up a bit buckled at the end! They will be fine to use like this the next time. It happens because they absorb the water that you put onto the reverse of the painting.
When you open up the sandwich and remove your painting, if there is any humidity still left in the watercolour paper, the painting will start to curl up in just a minute or two after you remove it. So, if you want to continue working on it, tape its edges down quick!
Starting out in watercolour and want to paint captivating portraits?
Sign-up for my latest tips, secrets, and terrific tutorials to get you through the disappointing phase faster and painting the portraits you want to.